my gallery
deep space astrophotography


my gallery
about me
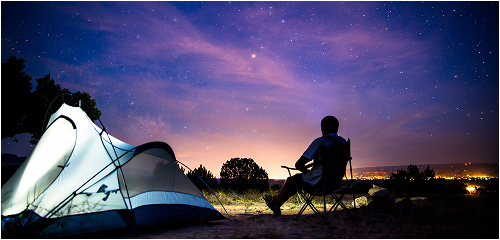
My passion for astronomy began during the global and UK lockdowns, a time when the world slowed down but the night sky remained constant and inviting. Like many, I found myself looking up for solace, starting with a humble, budget-friendly reflector telescope. My first nights were dedicated to the Moon, tracing its craters and shadows, which quickly ignited a deeper curiosity.
As I grew more comfortable navigating the heavens, I pushed further, eventually locating the magnificent Orion Nebula. That first glimpse of a deep-sky object beyond our solar system was a turning point. It sparked an intense fascination with the vast, faint wonders of the cosmos.
Driven by this new interest, I ventured into astrophotography, eager to capture those distant nebulas and galaxies. However, I rapidly discovered that while a basic scope is perfect for visual observation, capturing the true beauty of deep-sky objects requires precision and capability that my initial setup couldn’t provide. That realization set me on a path of continuous learning and equipment upgrades, transforming a lockdown hobby into a lifelong pursuit of the universe’s deepest secrets.
FAQ’s
This isn’t a straight answer and depends on what you are wanting to view or image. If you’re simply wanting to view the moon for example then most reflectors, refractors or dobsonian telescopes will do the job but if you want to view Jupiter, the rings of Saturn with some detail then you need a telescope with a large aperture such as an 8″ Reflector or bigger. Then there is considerations on lens magnification also. I am looking to include more detail as the website grows content.
There are several types of mounts available but the main ones are Equatorial and Alt Azimuth. Equatorial are a little more difficult to set up as they require to be polar aligned but are more superior as they follow the earths arc and allows more precise accurate tracking of an object where as the Alt Azimuth is an up/down, left right style which is more of a traditional step type movement.
Deep sky objects are captured using a camera which allows you to set an exposure time of long durations as this brings in the light and details. You then photograph multiple images of the same object over a period of time and stack these images together. Once you have stacked the images you then need to edit the stacked file to bring out the image details which is, depending on the device you are using quite difficult.
These devices are excellent in capturing deep sky objects, lunar and solar images. Versions range and main ones are the Seestar and Dwarf devices. These devices are simple to set up and can produce some amazing results with little effort. With these devices you can view the image in real time being stacked as more and more images are captured. You can also edit the image, removing stars, denoise and enhance colours. These devices also contain light pollution filters built in which helps for places where light pollution is high. A great entry point into astrophotography without all the complications of a big set up of mount, scope, camera, guide scopes etc.
Telescopes are known as optical tube assembly (OTA) and the main ones are refractor, reflector and dobsonian. Reflectors/Dobsonian are telescopes where the light enters the front and bounces off a mirror which is located at the bottom of the scope and sent back up to a smaller mirror which directs the image through the eyepiece on the side of the scope.
Refractors are slightly different where the light enters the front lens and enter the bottom lens where the light is directed into the eyepiece.
This is an area I am yet to get involved with due to the set ups I currently have as you need a scope that brings in as much light as possible. I have captured Jupiter, all be it a very poor image. If you’re planning on viewing and capturing planets I would suggest a large scope and a decent imaging camera to attach and a barlow lens.
A Barlow lens is a lens that sits between the OTA and an optical eyepiece or camera. It’s purpose is to magnify the output image. For example, if you have a 2x Barlow lens and have an eyepiece of 25mm, this will double the magnification output and make the eyepiece in theory 12.5mm. Barlow’s are a great way to double your eyepiece collection without the need to buy further ones.
If you are starting out and getting used to your equipment then I would suggest starting with the 25mm eyepiece. These are much more forgiving on targeting an object. Once you have targeted your object and centred it, you can then change eyepiece for a more magnified lens.
our blog
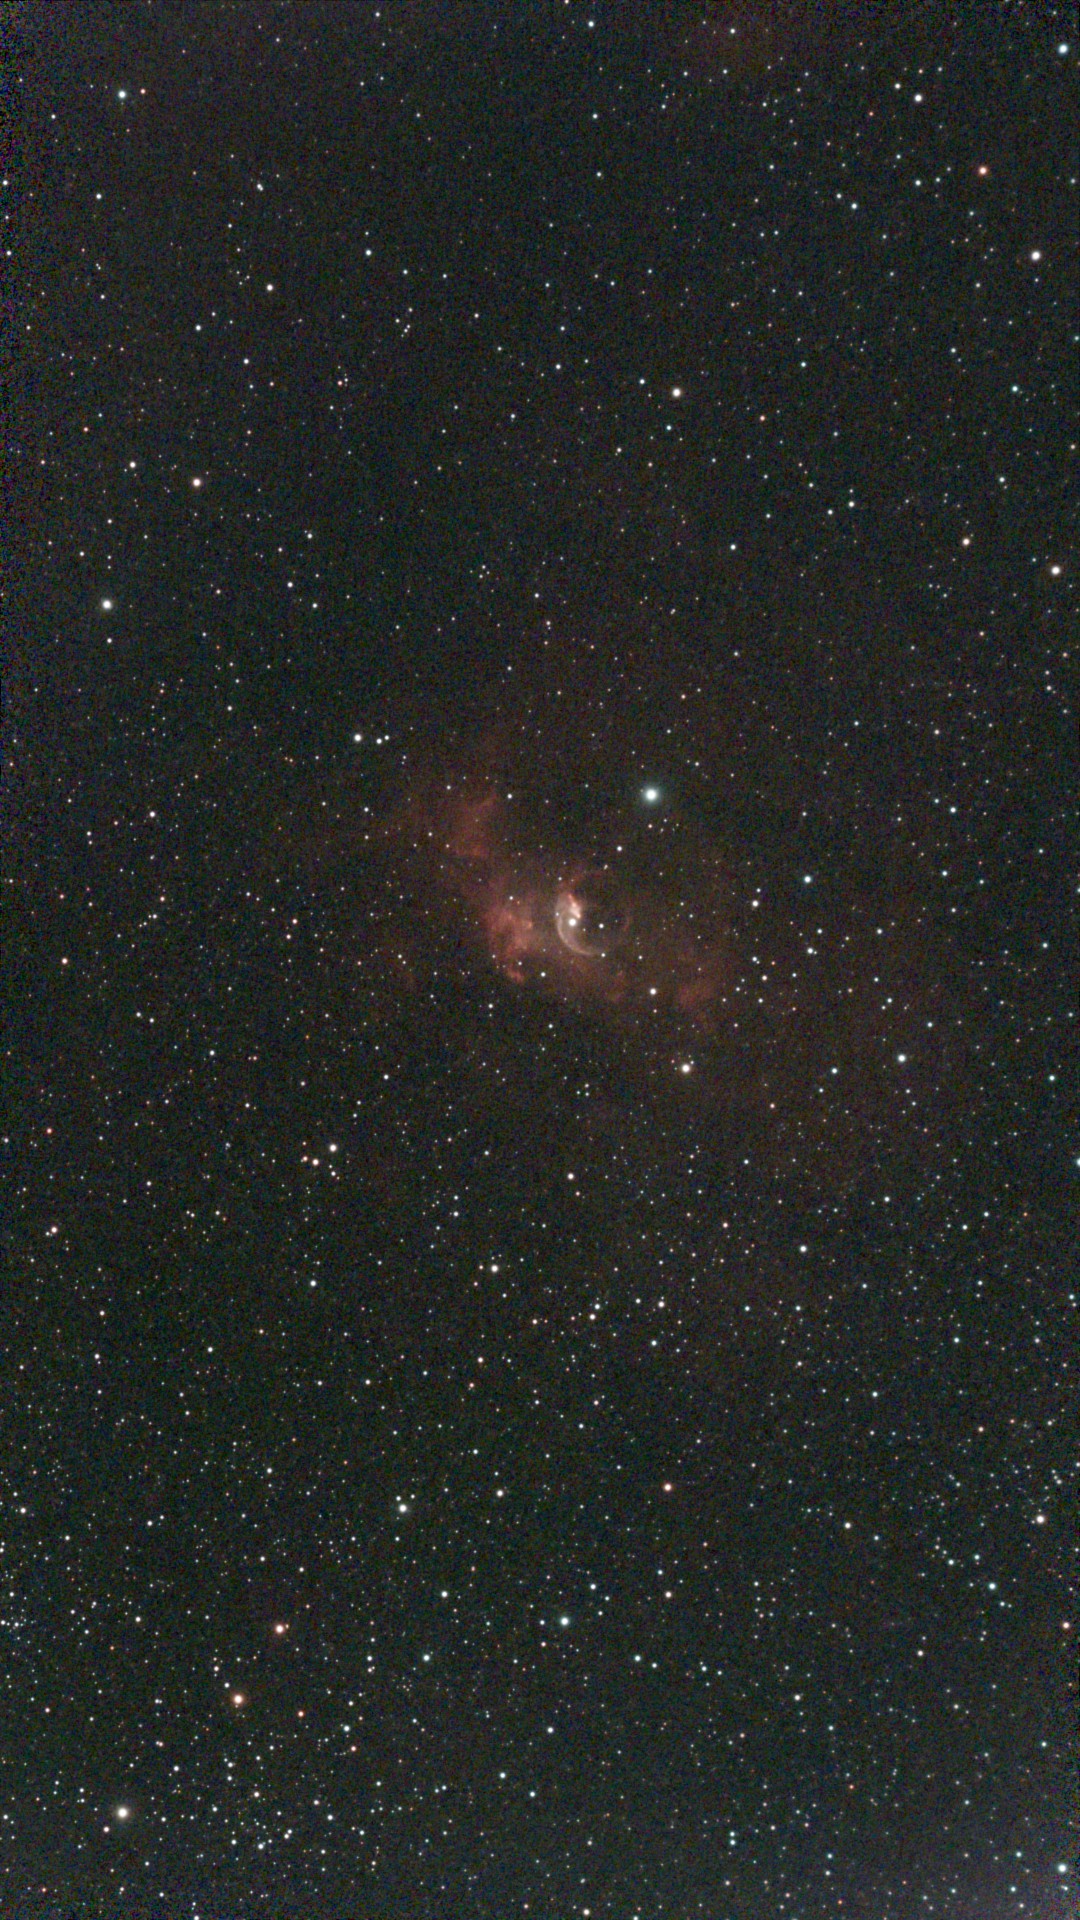
Short exposure of around 14mins of the bubble nebula using Seestar S50. Nebula located within the constellation Cassiopeia.

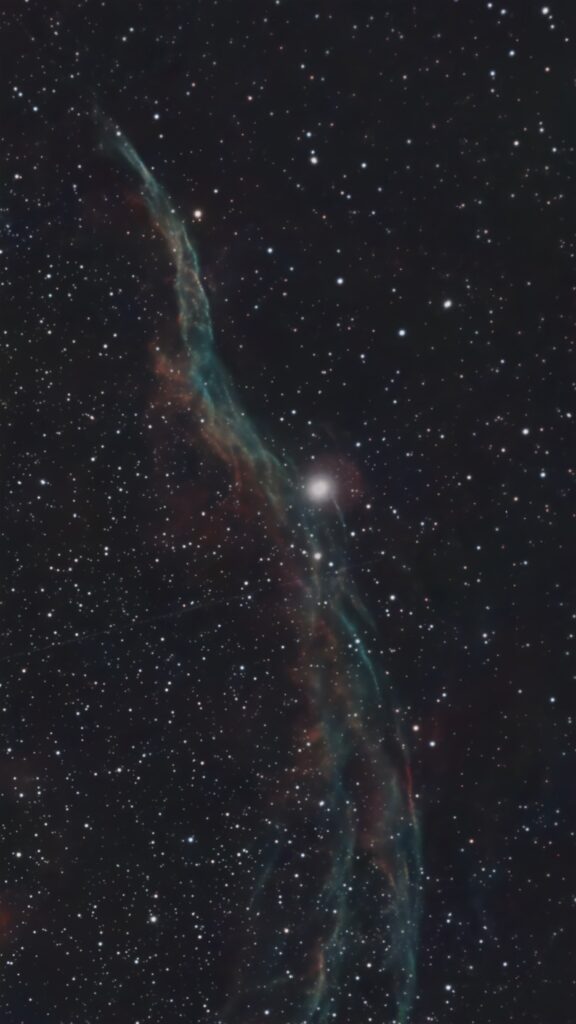
The western Veil, also known as the witches broom. Taken from Newton-le-willows in North Yorkshire. Total exposure time of over 2hrs and with 10s exposures.

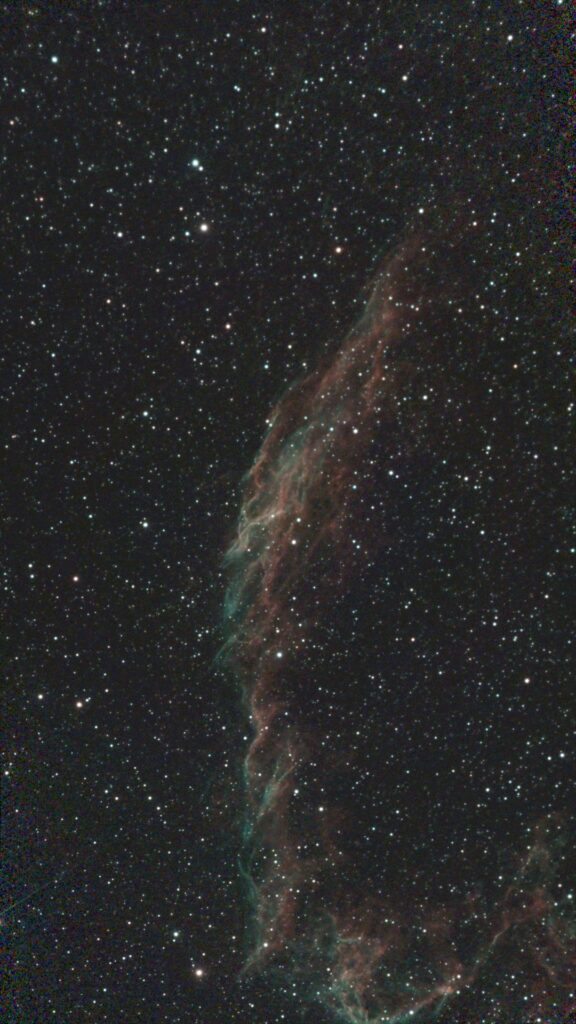
Taken August 2026 from Newton-le-willows in North Yorkshire.

Short exposure time of the Owl Nebula taken yesterday evening. Approx 30 minutes integration time of 10s subs.

Another revisit to the Pinwheel Galaxy from North Yorkshire. Total exposure time approx 2h 10s of 10s exposures.

Short exposure of the Beehive cluster from North Yorkshire

Revisited the Whirlpool Galaxy this month in dark sky North Yorkshire. Approx 1hr 40m integration time with the seestar s50 using 10s subs

Taken using Seestar S50 with approx 1h 30 integration time with 10s exposures

Within the constellation of Leo, 3 close by spiral galaxies. Taken at North Yorkshire with approx 1hr integration time.

Full moon 1st Feb, known as the snow moon